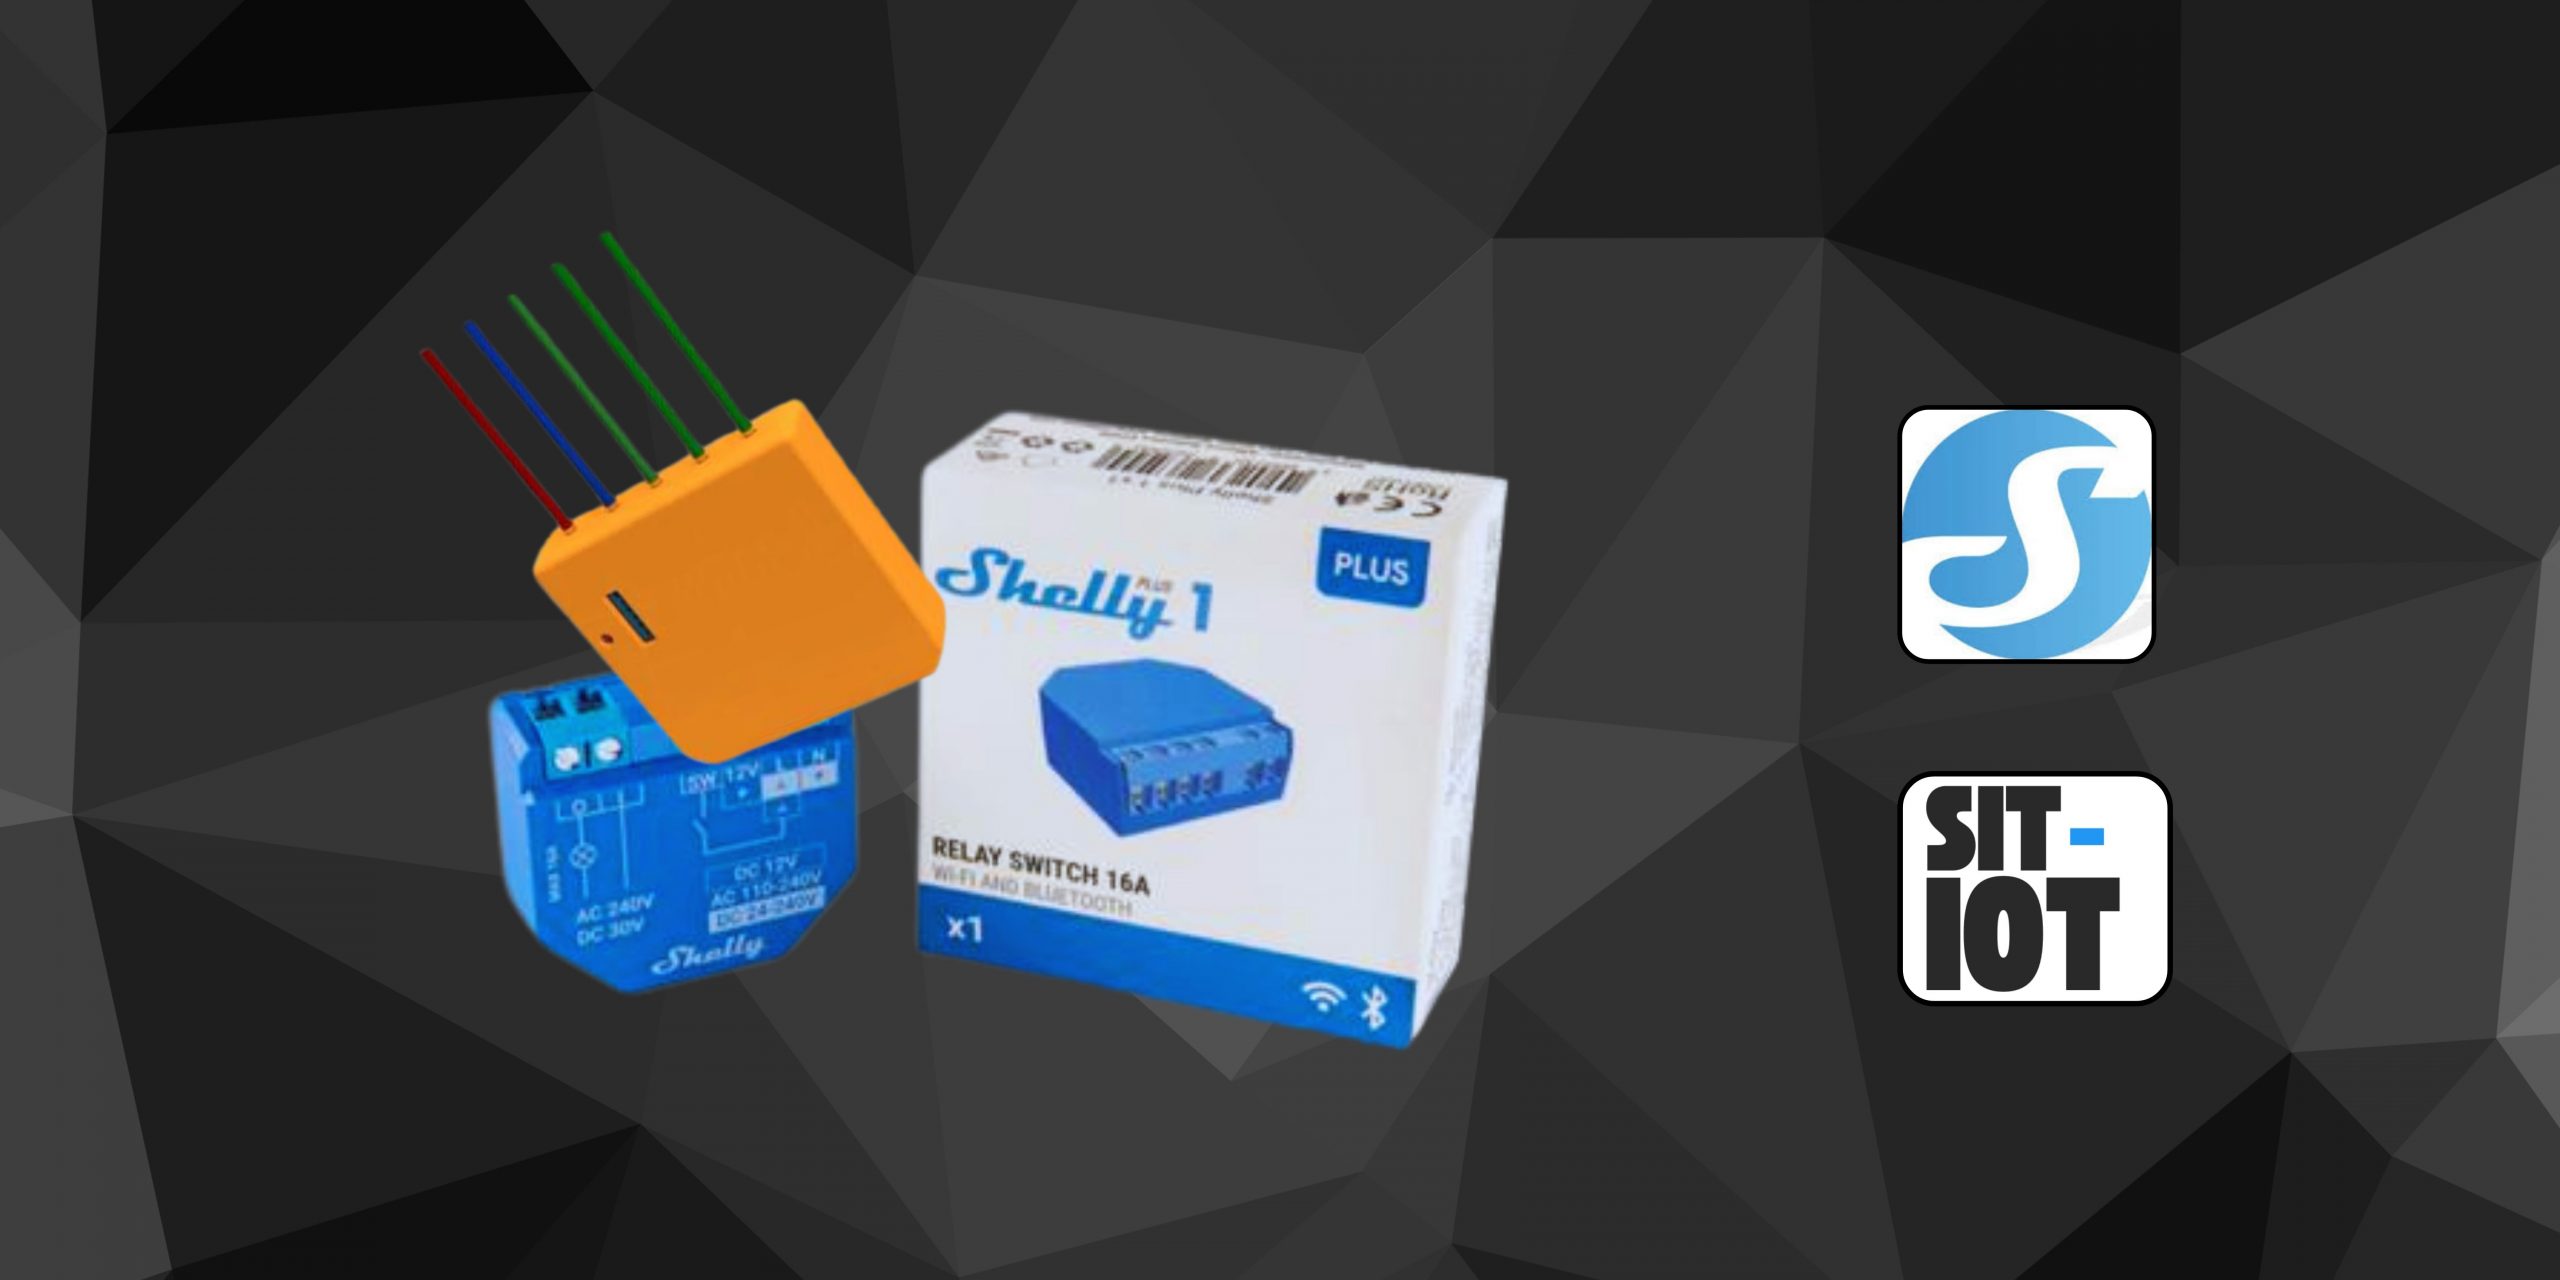
Shelly i3 is a versatile smart device that allows you to remotely control one or more Shelly 1 devices using URL commands. Imagine being able to turn on your garden lights or the pool pump with just a press of a button – or even without touching anything at all! In this guide, we’ll explain how to set up Shelly i3 to control your Shelly 1 devices and create a truly smart home.
How to Control Shelly 1 with Shelly i3
Before We Start: Safety First
Remember that electricity can be dangerous. Before handling any wires or devices, make sure to disconnect the power supply in the area where you’ll be working.
Setting up Shelly i3
1. Physical Connection:
- Connect the power cables (live and neutral) to the L and N terminals on the Shelly i3.
- Connect the switches or buttons you’ll use to control your Shelly 1 devices to the SW1, SW2, and SW3 terminals on the Shelly i3.
2. Configuration in the Shelly App:
- Download the Shelly app on your mobile phone or tablet.
- Add Shelly i3 to your Wi-Fi network by following the instructions in the app.
- Give it an easily recognizable name, such as “Garden Control” or “Smart Switch.”
Setting up Shelly 1
1. Physical Connection:
- Turn off the power before you start!
- Connect the power cables (live and neutral) to the L and N terminals on the Shelly 1.
- Connect the device you want to control (lamp, pump, etc.) to the O and N terminals on the Shelly 1.
- Connect the I terminal on Shelly 1 to the live wire (L).
2. Configuration in the App:
- Add Shelly 1 to your Wi-Fi network through the app.
- Give it an identifying name, like “Garden Lights” or “Pool Pump.”
- Important! Make a note of the IP address the app assigns to Shelly 1; you’ll need it later.
Configuring Actions on Shelly i3
Shelly i3 uses URL commands to communicate with other Shelly devices. You can find all available action URLs in the Shelly API documentation.
Types of Actions
- Button On/Off: Ideal for toggle switches. Sends a command when the switch changes position.
- Short, Long, Double, Triple Presses: Perfect for momentary buttons. Sends a command based on how you press the button.
- Press Combinations: Create more complex actions by combining short and long presses on a momentary button.
Configuring Buttons on Shelly i3
- Button Type: Choose between “Momentary” (push button) or “Toggle Switch.”
- Input Inversion: If you need to reverse the button’s behavior (on/off), enable it here.
- Long Press Duration: Adjust how long you need to hold the button for it to be considered a “long press.”
- Multi-press: Define the maximum time between presses to be recognized as a multi-press action (double, triple, etc.).
Example: Turn a Light On/Off with a Button
- In the Shelly app, go to the Shelly i3 settings.
- Choose the button you want to use (SW1, SW2, or SW3).
- Select “Button Short Press” as the action.
- In “URL,” enter:
- To turn on:
http://[Shelly_1_IP]/relay/0?turn=on - To turn off:
http://[Shelly_1_IP]/relay/0?turn=off
- To turn on:
Explore!
Now you can control your Shelly 1 with Shelly i3. Experiment with different actions and settings to create the perfect automation for your home!
